Beequips are the hats and gear your bees wear, and Bee Swarm Simulator has 41 of them.
Everyone assumes a Legendary one beats a Common one. The game files say that is mostly not true, and the thing that really decides what you can use is something else entirely.
Here is every beequip with its level, how many you can wear, and what it actually gives you.
The quick answer
There are 41 beequips across 5 rarities. Every one needs your bee to reach a level, from 3 up to 16.
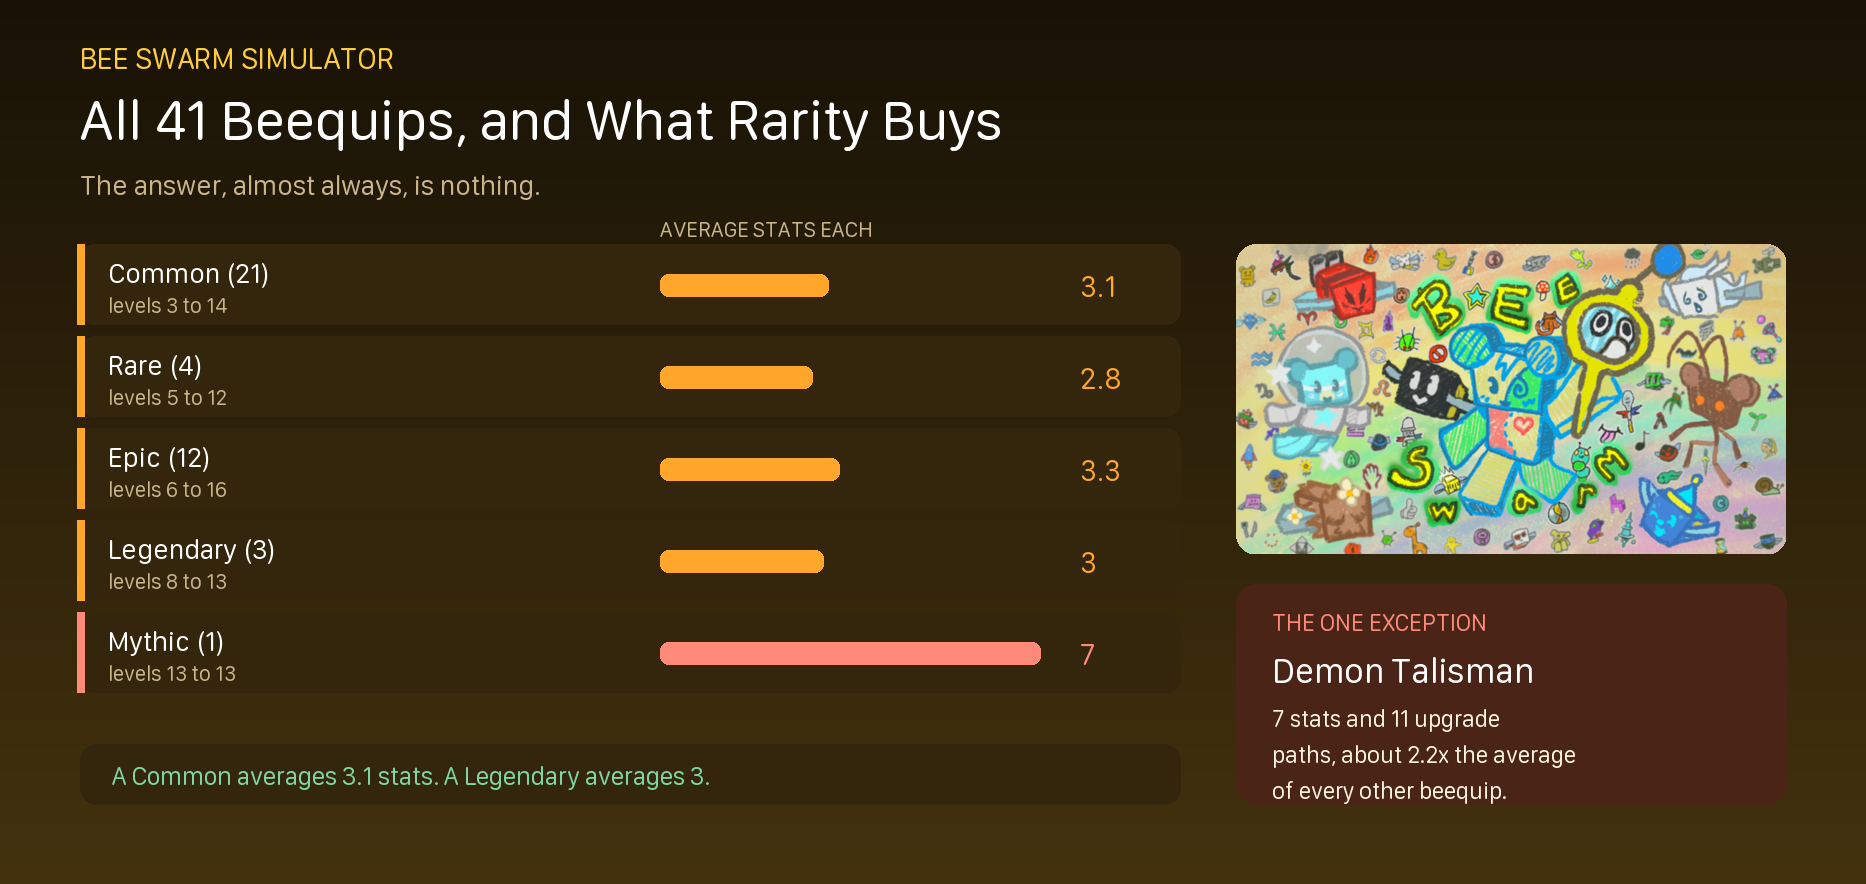
The thing worth knowing. A Common beequip gives 3.1 stats on average. A Legendary gives 3. Rarity is not telling you what you think it is.
The one real exception is Demon Talisman, the only Mythic, which carries 7 stats and 11 upgrade paths.
How beequips work
Four things decide whether a beequip is any use to you, and only one of them is rarity.
| What it is |
Why it matters |
| The level it needs |
Your bee has to reach it. They run from 3 to 16. |
| How many you can wear |
16 of the 41 can only be worn once, no matter how many you own. |
| The stats it rolls |
Each one lands in a range, so two of the same beequip are not the same. |
| Its upgrade paths |
All 41 can be upgraded, adding more on top of what it rolled. |
Bees wear these, not you. A beequip goes on one bee, so which bee you put it on matters as much as the beequip. Our bees list covers who is worth equipping.
What rarity actually buys you
This is the part that surprises people. Lining the rarities up by how many stats they give shows an almost flat line.
| Rarity |
How many |
Levels |
Average stats |
Average upgrade paths |
| Common |
21 |
3 to 14 |
3.1 |
5.7 |
| Rare |
4 |
5 to 12 |
2.8 |
5 |
| Epic |
12 |
6 to 16 |
3.3 |
5.6 |
| Legendary |
3 |
8 to 13 |
3 |
5.7 |
| Mythic |
1 |
13 to 13 |
7 |
11 |
Four of the five rarities are the same. Common 3.1 stats, Legendary 3. Upgrade paths are 5.7 against 5.7. Paying attention to the rarity colour will not tell you which beequip to chase.
The one exception: Demon Talisman
The only Mythic in the game is a real step up, and it is the only place the rarity ladder means anything.
| What |
Demon Talisman |
Everything else |
| Stats it gives |
7 |
3.1 on average |
| Upgrade paths |
11 |
5.6 on average |
| Hive bonuses |
8 |
Most give none at all |
| Level needed |
13 |
3 to 16 |
| How many you can wear |
1 |
One, two or three |
That is about 2.2 times the stats and 2.0 times the upgrade paths of an average beequip.
The level ladder
Every beequip is locked behind a bee level. This is the gate that actually controls what you can use, and it cuts right across the rarity colours.
| Bee level |
Beequips unlocked |
Which ones |
| 3 |
3 |
Thimble, Bandage, Elf Cap |
| 4 |
2 |
Bottle Cap, Beesmas Top |
| 5 |
2 |
Sweatband, Warm Scarf |
| 6 |
4 |
Thumbtack, Single Mitten, Poinsettia, Electric Candle |
| 7 |
5 |
Paperclip, Smiley Sticker, Toy Drum, Peppermint Antennas, Snowglobe |
| 8 |
5 |
Whistle, Camo Bandana, Paper Angel, Bubble Light, Reindeer Antlers |
| 9 |
4 |
Bead Lizard, Kazoo, Pinecone, Toy Horn |
| 10 |
5 |
Pink Shades, Bang Snap, Beesmas Tree Hat, Icicles, Festive Wreath |
| 11 |
1 |
Beret |
| 12 |
4 |
Charm Bracelet, Snow Tiara, Camphor Lip Balm, Pink Eraser |
| 13 |
3 |
Lump Of Coal, Demon Talisman, Rose Headband |
| 14 |
2 |
Lei, Candy Ring |
| 16 |
1 |
Autumn Sunhat |
Notice that Commons run up to level 14 while Epics start at 6. The two scales overlap heavily, so a high level Common can arrive long after a low level Epic.
How many you can wear at once
Each beequip has its own limit, and this is what people mean when they ask about slots.
| You may wear |
Beequips |
| 1 at a time |
16 |
| 2 at a time |
12 |
| 3 at a time |
13 |

All 41 beequips
Grouped by rarity, lowest level first inside each group.
Common (21)
| Beequip |
Level |
Wear |
What it boosts |
Upgrades |
| Bandage |
3 |
3 |
Attack Mul, Energy Mul, Pollen per flower |
4 |
| Elf Cap |
3 |
2 |
Convert At Hive Mul, Honey per convert |
4 |
| Thimble |
3 |
3 |
Convert rate, Honey per convert |
4 |
| Beesmas Top |
4 |
3 |
Ability rate, Attack Add, Critical Chance, Energy Mul |
4 |
| Bottle Cap |
4 |
3 |
Critical Chance, Critical Power, Honey per convert |
5 |
| Sweatband |
5 |
3 |
Energy Mul, Gather Blue Mul, Gather Red Mul, Gather White Mul |
9 |
| Single Mitten |
6 |
3 |
Bomb Pollen, Pollen per flower |
4 |
| Thumbtack |
6 |
2 |
Attack Add, Attack Mul, Critical Power, Pollen per flower |
6 |
| Paperclip |
7 |
2 |
Ability Pollen, Ability rate |
6 |
| Peppermint Antennas |
7 |
3 |
Ability Pollen, Ability rate, Convert rate, Movespeed Mul… |
5 |
| Smiley Sticker |
7 |
2 |
Bomb Pollen, Energy Mul, Mark Dur |
7 |
| Camo Bandana |
8 |
3 |
Attack Add, Buzz Bomb Pollen, Pollen gathered |
8 |
| Paper Angel |
8 |
2 |
Ability Pollen, Gather White Mul |
4 |
| Whistle |
8 |
1 |
Critical Power, Energy Mul, Movespeed Mul |
6 |
| Bead Lizard |
9 |
1 |
Bubble Chance, Convert rate, Flame Chance |
7 |
| Kazoo |
9 |
1 |
Convert rate, Critical Power, Energy Mul |
4 |
| Bang Snap |
10 |
1 |
Bomb Pollen, Critical Chance |
8 |
| Pink Shades |
10 |
1 |
Ability Pollen, Critical Chance, Critical Power, Super Crit Chance |
6 |
| Beret |
11 |
2 |
Ability Pollen, Convert rate, Honey per convert |
6 |
| Charm Bracelet |
12 |
1 |
Ability rate, Convert rate, Critical Chance, Mark Dur |
5 |
| Lei |
14 |
1 |
Ability rate, Gather Pollination Chance, Pollen gathered, Pollen per flower |
8 |
Rare (4)
| Beequip |
Level |
Wear |
What it boosts |
Upgrades |
| Warm Scarf |
5 |
3 |
Convert rate, Energy Mul |
5 |
| Poinsettia |
6 |
2 |
Gather Pollination Chance, Gather Red Mul |
4 |
| Toy Horn |
9 |
2 |
Ability Pollen, Ability rate, Energy Mul, Honey per convert |
5 |
| Pink Eraser |
12 |
1 |
Honey per convert, Instant Conversion, Mark Dur |
6 |
Epic (12)
| Beequip |
Level |
Wear |
What it boosts |
Upgrades |
| Electric Candle |
6 |
3 |
Energy Mul, Flame Chance, Flame Pollen, Gather Red Mul |
4 |
| Snowglobe |
7 |
2 |
Bomb Pollen |
3 |
| Toy Drum |
7 |
2 |
Attack Mul, Critical Chance, Energy Mul, Pollen per flower |
3 |
| Bubble Light |
8 |
3 |
Bubble Pollen, Honey per convert, Mark Dur, Movespeed Add |
6 |
| Pinecone |
9 |
2 |
Ability rate, Convert rate |
4 |
| Beesmas Tree Hat |
10 |
3 |
Ability Pollen, Ability rate, Convert rate, Critical Chance |
6 |
| Icicles |
10 |
2 |
Attack Mul, Blue Bomb Pollen |
5 |
| Camphor Lip Balm |
12 |
1 |
Critical Power, Pollen per flower |
6 |
| Snow Tiara |
12 |
1 |
Convert At Hive Mul, Convert rate, Critical Chance, Gather Blue Mul… |
6 |
| Rose Headband |
13 |
1 |
Ability rate, Attack Add, Convert rate, Critical Chance… |
9 |
| Candy Ring |
14 |
1 |
Ability rate, Convert rate, Energy Add |
6 |
| Autumn Sunhat |
16 |
1 |
Ability rate, Convert rate, Gather White Mul, Honey per convert |
9 |
Legendary (3)
| Beequip |
Level |
Wear |
What it boosts |
Upgrades |
| Reindeer Antlers |
8 |
1 |
Ability Pollen, Convert rate |
5 |
| Festive Wreath |
10 |
1 |
Ability rate, Honey per convert, Mark Dur, Pollen per flower… |
7 |
| Lump Of Coal |
13 |
3 |
Energy Mul, Movespeed Mul |
5 |
Mythic (1)
| Beequip |
Level |
Wear |
What it boosts |
Upgrades |
| Demon Talisman |
13 |
1 |
Ability Pollen, Attack Mul, Energy Mul, Flame Chance… |
11 |
Upgrades, and why the one you find is not the one you keep
Every beequip can be upgraded, adding extra stats on top of whatever it rolled when you got it. Across the 41 beequips there are 235 upgrade paths.
| Beequip |
Rarity |
Level |
Upgrade paths |
| Demon Talisman |
Mythic |
13 |
11 |
| Sweatband |
Common |
5 |
9 |
| Autumn Sunhat |
Epic |
16 |
9 |
| Rose Headband |
Epic |
13 |
9 |
| Camo Bandana |
Common |
8 |
8 |
| Bang Snap |
Common |
10 |
8 |
| Lei |
Common |
14 |
8 |
| Bead Lizard |
Common |
9 |
7 |
| Smiley Sticker |
Common |
7 |
7 |
| Festive Wreath |
Legendary |
10 |
7 |
What this means for you. A beequip with more upgrade paths has further to grow, so it is worth holding on to even if it rolled badly at first. That is a better thing to judge than the rarity colour.
What beequips actually boost
They give two different kinds of bonus. One goes to the bee wearing it, and the other goes to your whole hive.
| Kind of bonus |
How many beequips give it |
Different stats |
| To the bee wearing it |
41 |
30 |
| To your whole hive |
29 |
17 |
The most common bee stats they touch are these.
| Stat |
Beequips that boost it |
| Convert Mul |
14 |
| Energy Mul |
12 |
| Ability Rate |
12 |
| Convert Add |
9 |
| Critical Chance |
9 |
| Ability Pollen |
9 |
| Gather Add |
7 |
| Critical Power |
6 |
| Attack Mul |
5 |
| Mark Dur |
5 |
| Attack Add |
4 |
| Movespeed Mul |
4 |
Bee Swarm gear is a pollen game. 47.2% of every hive bonus a beequip gives is Pollen bonus. We found the same thing on the other gear slot, where it was 49.9% on amulets. If you are chasing attack bonuses instead, both slots are a thin pond.
Only 9 of the 41 carry an ability of their own, so most are pure stat boosts.
Bee Swarm Simulator beequips FAQ
How many beequips are in Bee Swarm Simulator?
41, across 5 rarities, counted from the game data.
Are Legendary beequips better than Common ones?
Mostly no. A Common gives 3.1 stats on average and a Legendary gives 3. Only the single Mythic is a real step up.
What is the best beequip?
Demon Talisman is the strongest on paper, with 7 stats and 8 hive bonuses. It needs bee level 13 and you can only wear 1.
What level do I need for beequips?
Between 3 and 16, depending on the beequip. Every single one has a level requirement.
How many beequips can I wear?
It depends on the beequip, not on you. 16 can only be worn once, and 13 can be worn three times.
Do beequips get better over time?
Yes. There are 235 upgrade paths in total, so the one you find is not the one you end up with.
Do beequips help my whole hive?
Some do. 29 of the 41 give a hive bonus as well as a bonus to the bee wearing them.
More for Bee Swarm Simulator